DDNS - The backbone of home hosting

Dynamic DNS - The backbone of home hosting.
So if like me you have decided to give home hosting a go, the first question you might ask yourself is, how do I make sure my DNS records are updated with my current IP address provided by my ISP.
Dynamic DNS - The backbone of home hosting.
So if like me you have decided to give home hosting a go, the first question you might ask yourself is, how do I make sure my DNS records are updated with my current IP address provided by my ISP.
Most home broadband providers do not supply a static IP address for residential connections (although it is becoming more available (at a cost of course sigh)), so we are faced with the issue of every time your home router restarts, or your provider does maintenance there is a chance that your IP address that your connecting via may change, this of course would mean that people accessing anything hosted by you will be sent to the wrong IP.
Now depending on your level of experience and/or understanding you may be saying to yourself, but wait I don’t access websites via IP, I access everything by a domain name, and you would be correct, but under the hood connectivity is handled via IP.
So before we talk about Dynamic DNS (DDNS), lets first talk about DNS.
What is DNS
Without going into too much detail, DNS is the phonebook of the internet. If you don’t know what a phone book is, then god help me, when did I get so old…
What’s a phonebook..
In the before times, when people had landlines, and petrol was less than £1 a litre, if you needed to find out someone’s home phone number, you would use something like the Yellow Pages, or if you were really desperate Directory Enquires. But the basics of it are that you look for a name, and you get a phone number.
DNS
So like a phone book DNS acts like a phonebook for the internet, you want to go to Relf.co, you ask a DNS server give me the IP address for Relf.co, and it returns an IP address that your browser then sends a request to. Without DNS you would have to remember a set of numbers, or in the case of an IPv6 address, a bunch of numbers and letters. DNS also allows us to map multiple domain names down to a single IP address, allowing the use of SNI (Server Name Indication), where by a special host header is sent indicating the “name” of the site your requesting, allowing a single web server to serve multiple sites from the same IP address.
What problem does DDNS solve.
So now we have an understanding of DNS, what problem exactly does DDNS solve, firstly when the IP address you are serving your content changes, DDNS allows you to quickly and easily update your DNS entries normally through either an application or via an API call.
TTL - Time to Live
There is also one other issue that DDNS providers solve for you. Namely having a lower TTL than most standard DNS providers. TTL indicates to DNS servers how long a record should be cached for, most DNS providers will set records to either 12 or 24 hours. This means that when someone access your site, that record could be cached for up to 24 hours, which would cause an issue should the IP address be changed, as it could take up to 24 hours for the new IP to be provided. Most DDNS providers offer TTL down around the 5-2 minute mark, with some offering (on paid plans) 1 minute TTL.
So now we understand the why of DDNS, lets look at how we get this setup.
Setting up DDNS.
The steps you will need to take.
- Decide on a DDNS provider.
- Create an account with them.
- Configure your domain with them.
- Install an update client to keep your DNS record updated.
- Switch your nameservers to use the DDNS provider you have selected.
My journey.
I’m going to walk your through my decisions and how I deployed my DDNS service, this isn’t a tutorial rather a quick walk through of the steps I took.
The Provider.
I decided on Dynu how are apparently the oldest DDNS provider. The signup was easy, and best of all free. They do offer a paid plan, but currently I don’t need any of the features they offer. The Free plan comes with the following.
-   Easy to use control panel
-   Complete control of your domain name
-   Free dynamic DNS client
-   Reliable DNS uptime through redundant geographically located DNS servers
-   Port 80 redirection and offline options
-   Subdomains as well as MX records
-   Support for virtually all types of DNS records *lifted from their website  You also get the ability to run DNS for your own domain name, or you can have a domain name on one of their TLD's.
Configuration.
As I said previously the sign up was a breeze, and then all I had to do was enter my domain name into the DDNS screen and with in a matter of minutes I had an email informing me that DDNS services were enabled for my domain. 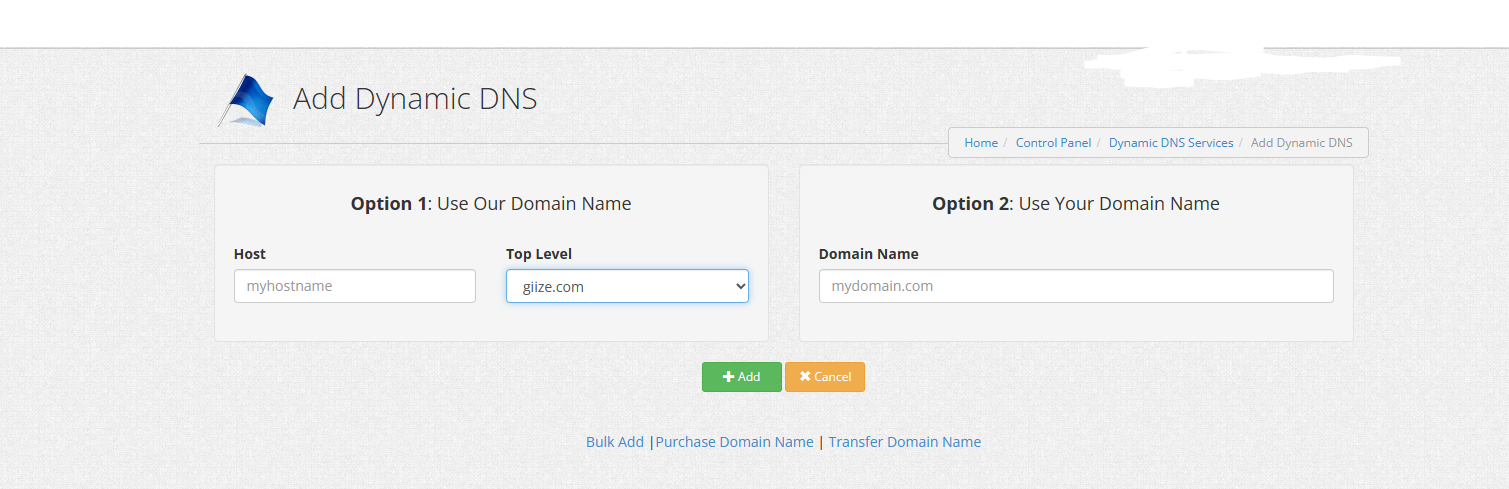
Keeping my DNS records up to date.
Dynu, recomends a tool called DDClient which can be installed on Ubuntu using sudo apt install ddclient DDclient will walk you through a setup wizard to help you configure your DDClient config file, I found this bit a little confusing as Dynu documentation was a little lacking. Once the client was installed, I was able to figure out the required settings. Below is a copy of my config (with the passwords and usernames redacted ;))
/etc/ddclient.conf
daemon=60
syslog=yes
pid=/var/run/ddclient.pid
use=web, web=checkip.dynu.com/, web-skip='IP Address'
login='' \
password='' \
server=api.dynu.com
protocol=dyndns2
relf.co
Once the config file is correct, you can then start the ddclient service using systemctl restart ddclientand check the logs to make sure your DNS entry is being updated. You can also check on the Dnyu control panel, and see what A records have been created and updated.
The final step.
The final step in this journey is to set your domains name servers to point to Dynu’s DNS servers so that when someone requests your domain name, the Dynu’s servers are set to respond, otherwise the current DNS servers will continue serving what ever IP address they have set. Updating your domains name servers is usually performed on your registrar’s website, so for instance, the Relf.co domain is registered through name.com, so I had to head on over there, and locate the setting for the domain name servers for your domain and update them to use the DDNS providers name servers. This can take up to 48hrs to actually happen, (remember TTL), but usually it takes 1-4 hours. During this time you can check to see if DNS has propagated correctly using DNS Checker - DNS Check Propagation Tool, simply put your domain name in the box, and click check, and you will see the IP address that DNS servers around the world are serving for your site. Once they are all showing your new IP address, you can consider propagation complete.
As you can see DDNS is a major component of being able to host things from home, and hopefully this post has helped shed some light on the subject.
Until next time, Steve.